
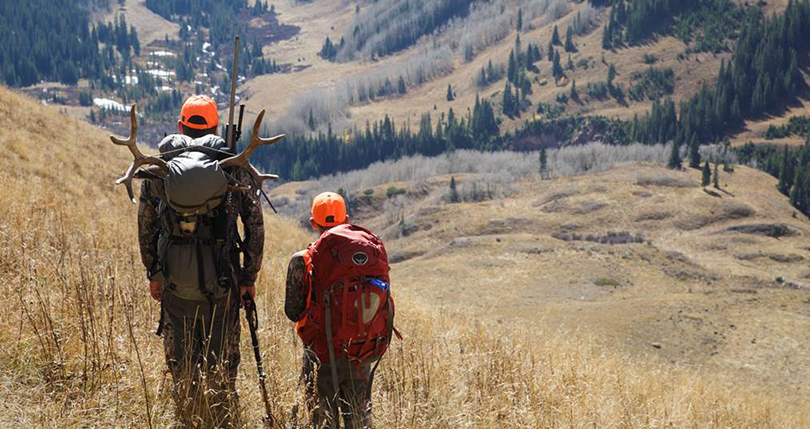
Backcountry hunting is an exciting and rewarding way to experience the hunt. It offers longer seasons, greater abundance of tags, and more generous animal age classes. But one of the challenges of backcountry hunting is how to pack out an animal once you’ve made a kill, without leaving anything behind or letting the meat spoil.
The answer is the gutless method.
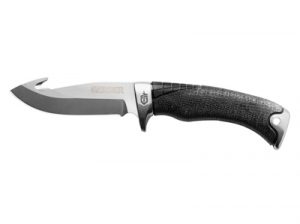
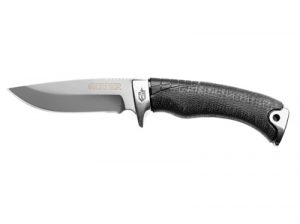
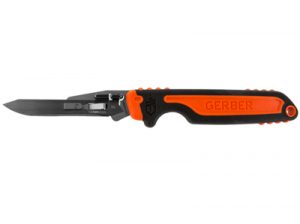
This can be the most important key to a successful backcountry elk hunt, or even a public-land deer hunt. When done right, all you need is a knife, a few game bags and a backpack, and you’ll be back at the cabin before sunset. If you’ve never tried the gutless method—or even if you have—check out these helpful tips and tricks, in our 5-step guide to the gutless method.
Step 1: Remove the Back strap.
a) Cut the hide along the spine, from the base of the head to the hipbone.
b) Cape the hide laterally on one side, a few inches from the spine, to reveal the back strap.
c) Remove the back strap from shoulder to hipbone, running your blade along the spine to fillet the meat away.
Step 2: Remove the Front Shoulder.
a) Lay the animal to one side and finish skinning the exposed side up to the shoulder.
b) Cuff the hide at the front knee and make a cut a few inches up the back of the leg, starting from the cuff. This will let you pull the leg through the hide, and help your taxidermist fit the hide onto a form later.
c) Fold the leg at the knee and pull it through the hole.
d) Lifting the leg away from the torso, cut along the chest cavity between the front shoulder and brisket to remove the front shoulder.
Step 3: Remove the Hindquarter.
a) Leave the hide on the hindquarter until after it’s off the animal, to keep the meat cleaner.
b) Pull the back leg away from the torso and cut along the groin. If you’re required to show proof of sex, retain the testicles with the hindquarter as you cut.
c) Cut completely along the pelvic bone, severing the tendon at the hip socket, and guiding the meat over the small “pin-bone.”
d) Finish cutting the hide along the spine where you left off earlier, from the hipbone to the base of the tail.
e) Lay the hindquarter open and separate the meat from the hide.
f) At the hock joint of the back leg, find and break the knuckle, and cut through it, to make removing the hide easier. Then pull the hindquarter free.
Step 4: Remove Neck, Brisket, and Rib Meat, and Tenderloin.
a) Cut away any exposed neck, brisket and rib meat, avoiding meat that’s been bloodshot.
b) Finish with the tenderloin, which runs underneath the spine near the hindquarters. Feel for where the muscle is connected at both ends and cut it loose.
Flip the animal over and repeat steps 1 through 4 on the other side.
Step 5: Remove the Head.
a) Cut into the top joint of the spine, where it meets the skull, cleaving away all the meat and tendons.
b) Once you’ve cut most of the tissue, twist the animal’s head to one side, and give it a strong jerk; the joint you’ve cut into should pop free.
c) Cut any additional meat and tissue in the neck to finish removing the head.
Depending on how the animal falls and what the terrain is like, you may choose to do these steps in a slightly different order. When done right, it’s a quick, clean and effective process that lets you avoid opening the body cavity of the animal, while getting the meat exposed and cooling as quickly as possible. And when you’re finished you’ve got several manageable pieces that can be easily loaded up and packed out. That’s why the gutless method is considered by many to be an essential piece of knowledge for a successful backcountry hunt.
Now that we’ve shared some of our favorite methods, it’s time for you to tell us,


This method is a fast and easy way to get your animal out of the field
Thanks for sharing this information. The steps are very useful and effective.